Updating DNS Nameserver series
4. How to update your nameservers at DreamHost
You need to change your nameservers. Please check the email you received from us with your account details to see the correct name servers to use.
This demo assumes you have a domain name registered through DreamHost, and starts from their home page.
Now let's learn how to update our domain name's Nameserver settings
Click the "Login" button the upper right corner of the home page.
Login with your email address and password.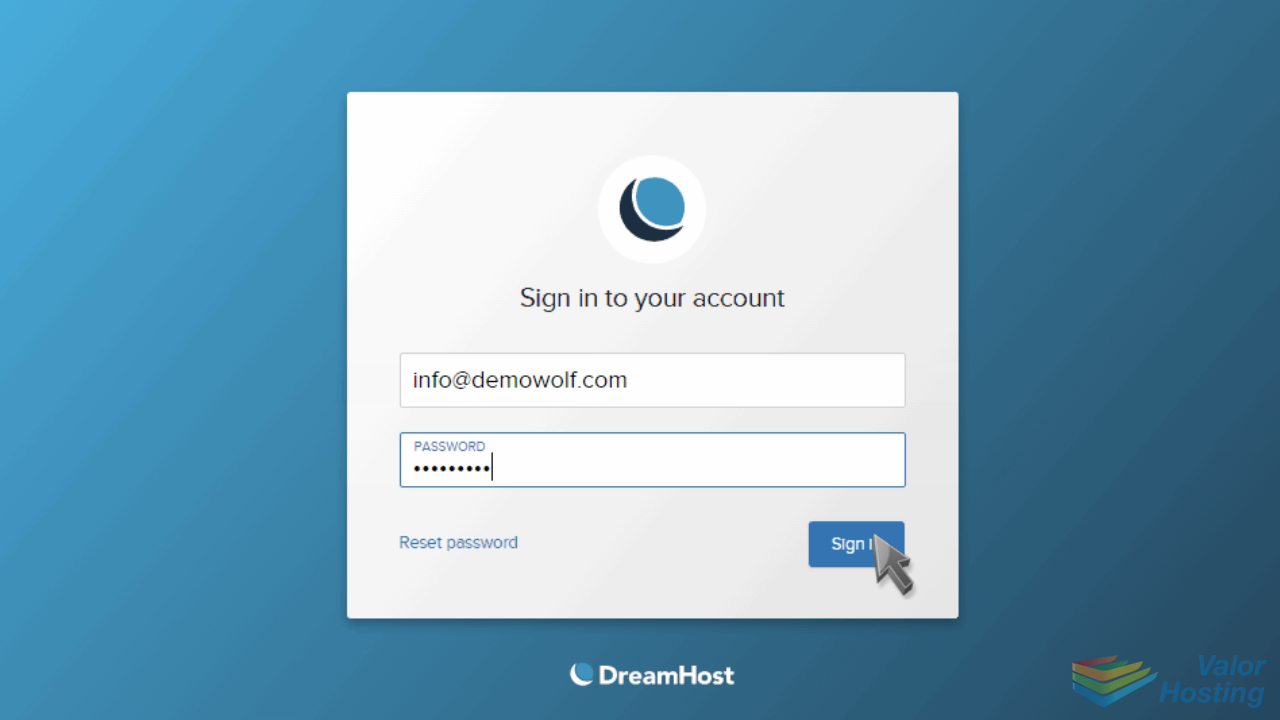
Click the "Domains" link on the left of your dashboard.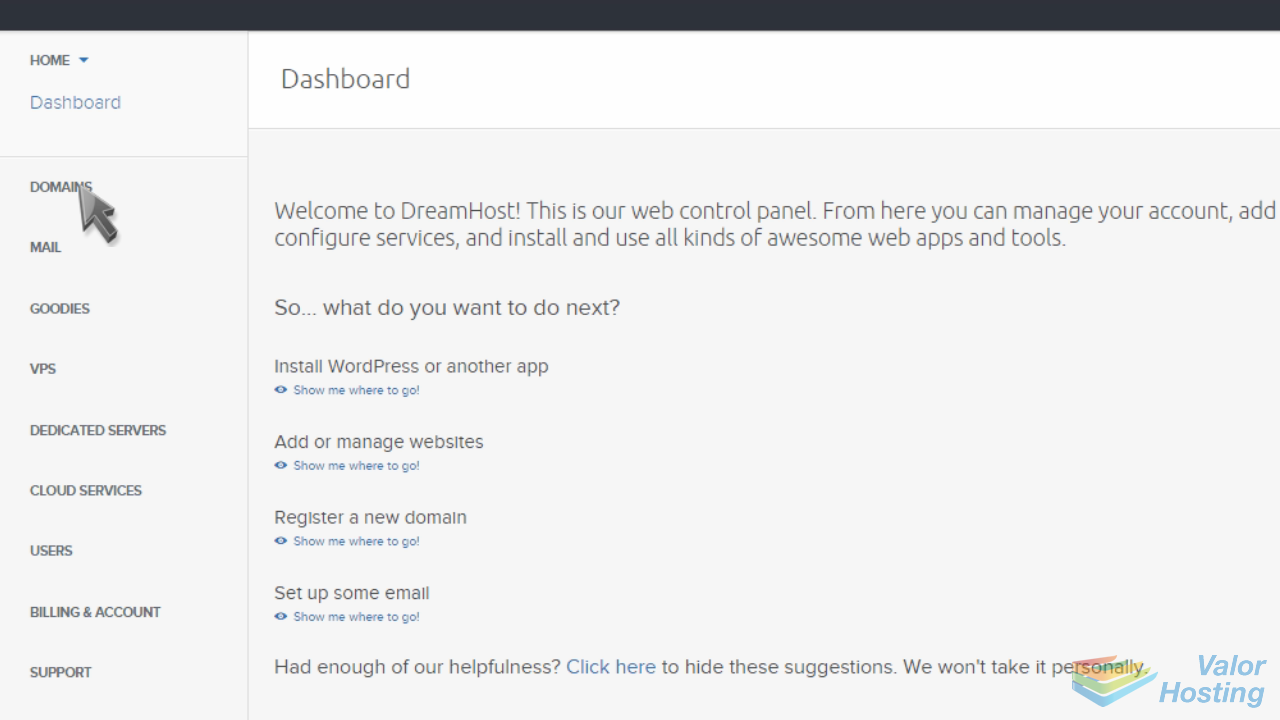
Then click "Manage Domains".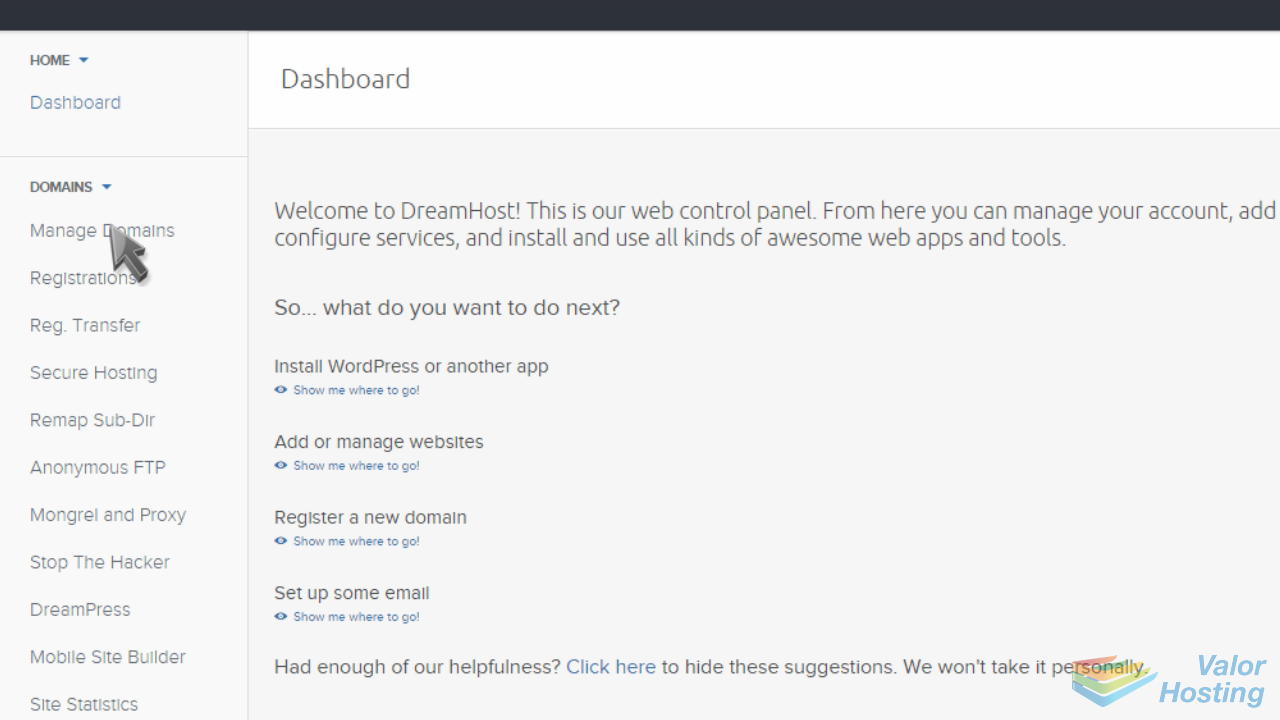
Click the "DNS" link under the domain name you wish to manage.
Enter your new nameservers here...
... then click "Set these nameservers"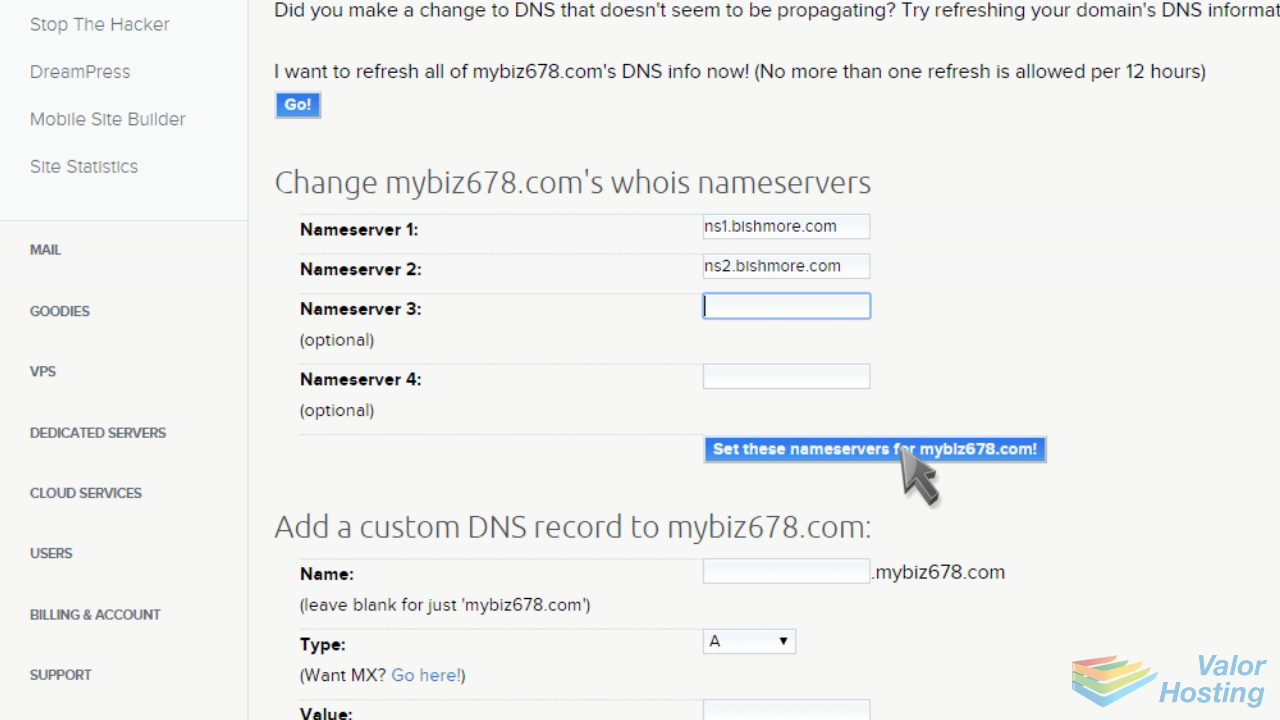
That's it! The domain name's nameservers have been updated.
Please note that it could take up to 24 hours for your new nameservers to propagate and be recognized across the internet.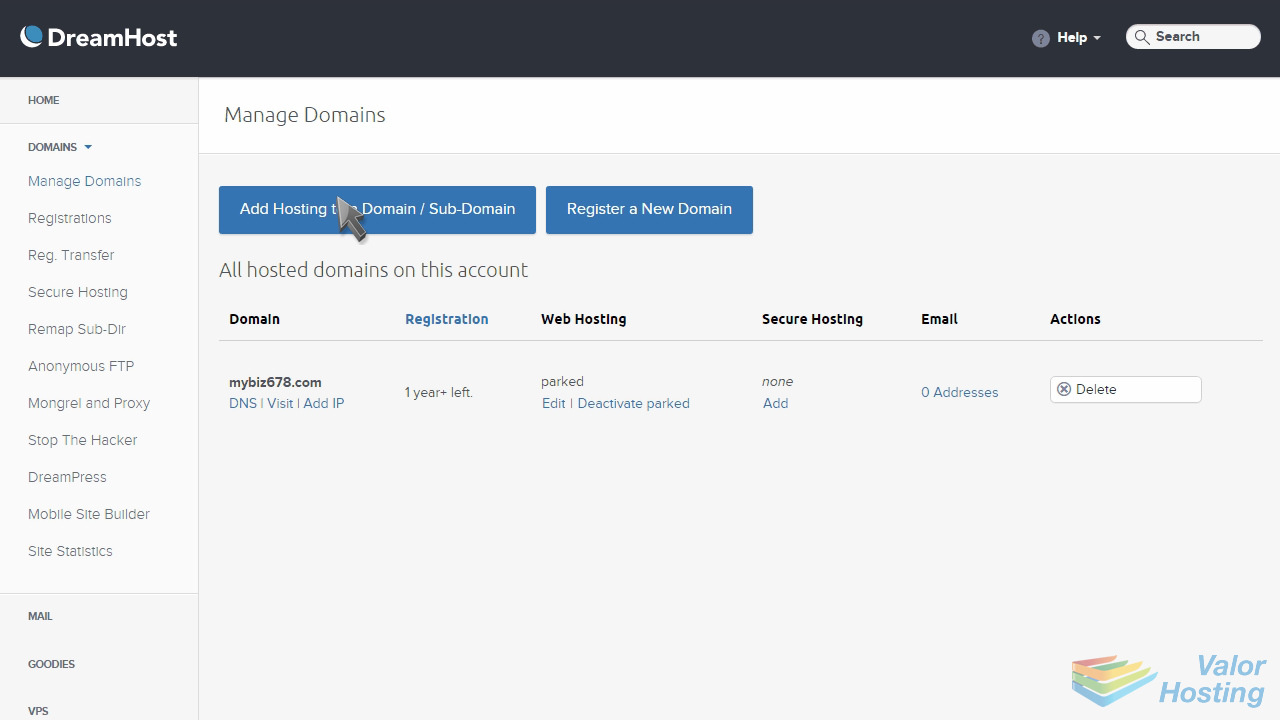
This is the end of the tutorial. You now know how to update your domain name's nameserver settings at DreamHost.
