8. How to add an MX entry in cPanel
This demo assumes you've already logged in to cPanel, and are starting on the home screen.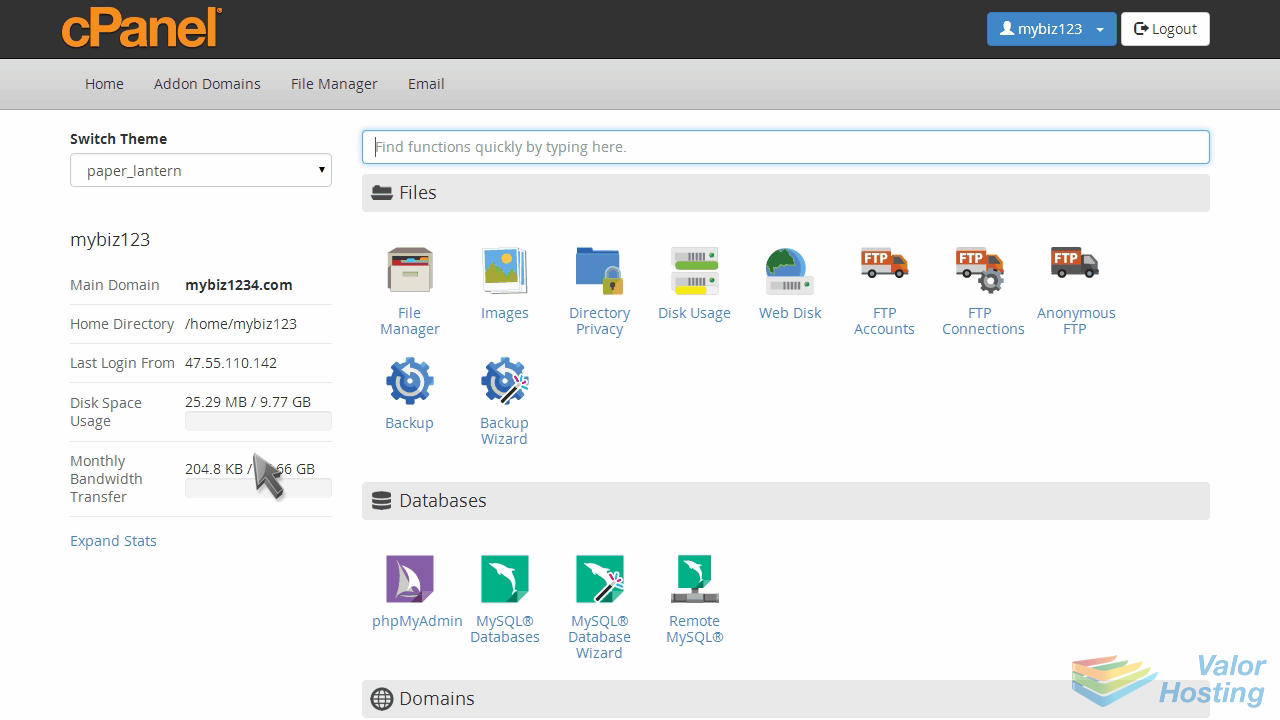
Now let's learn how to add an MX entry.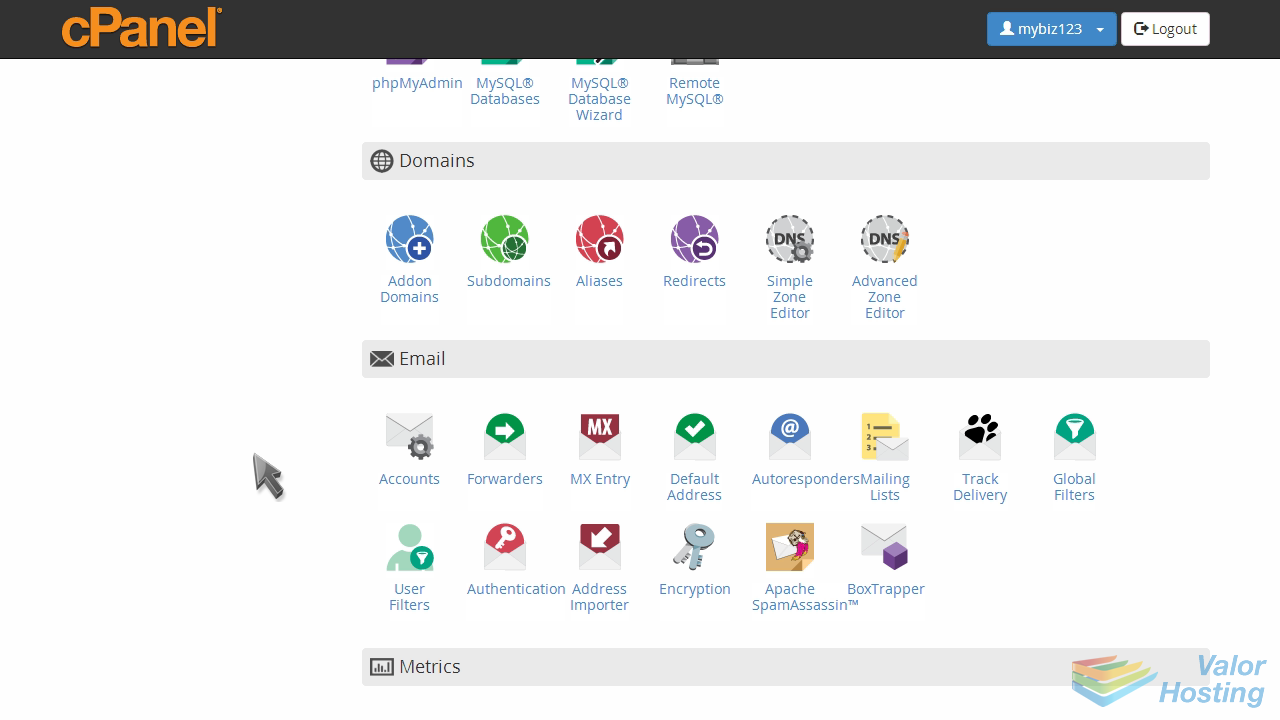
Click the MX Entry icon.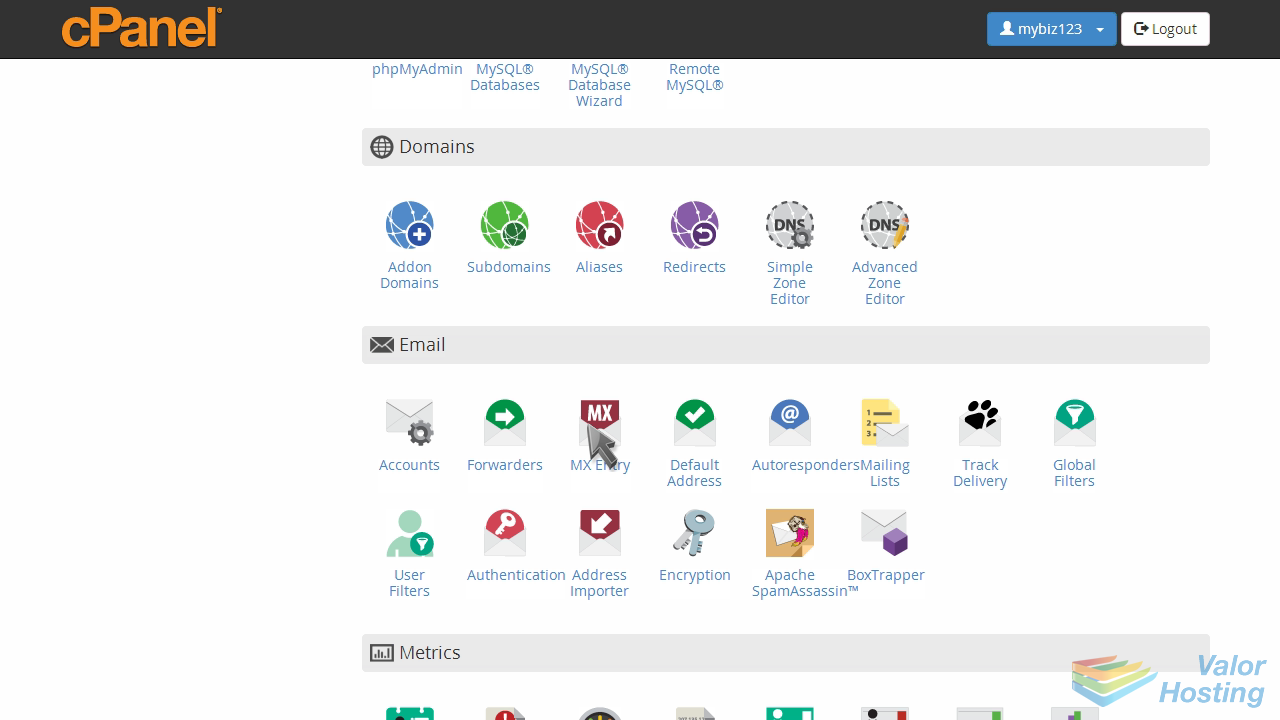
Setting a custom MX entry is useful if you want your email handled by another server, or if you want to setup a backup email server.
Enter a priority number for the new MX record: the lower priority numbers will be tried first, followed by higher numbers.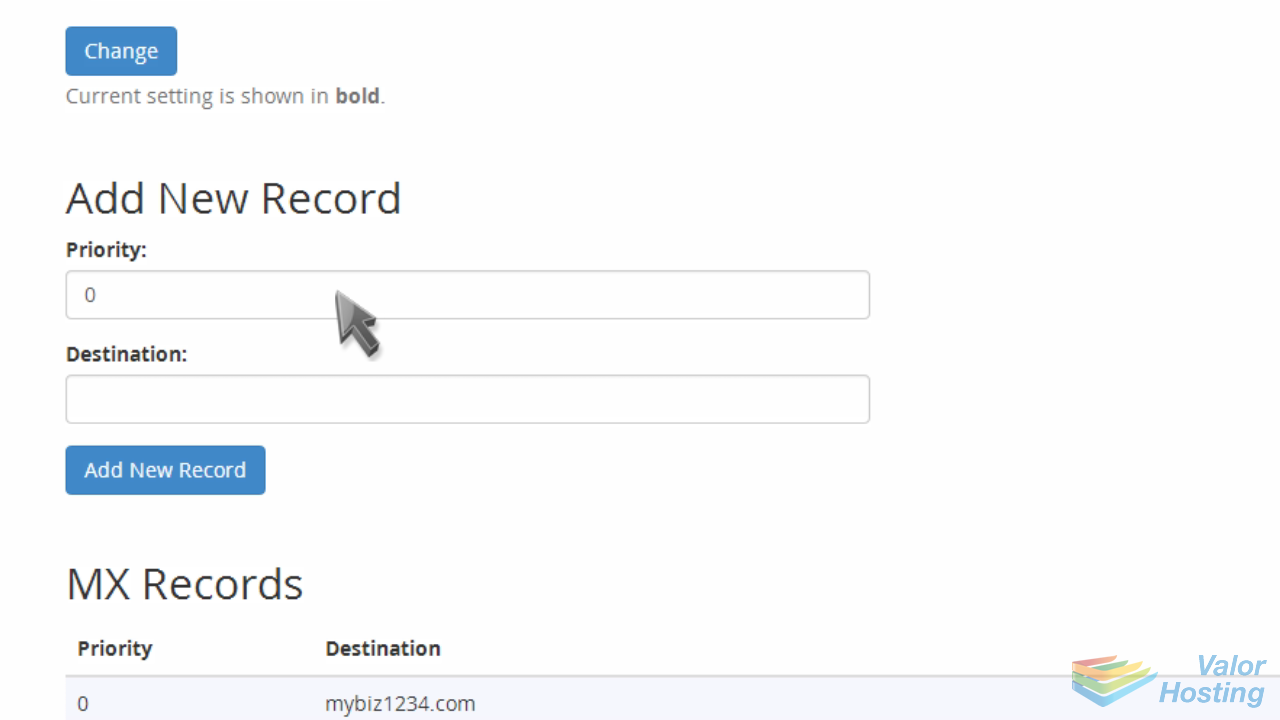
Then enter the new MX entry.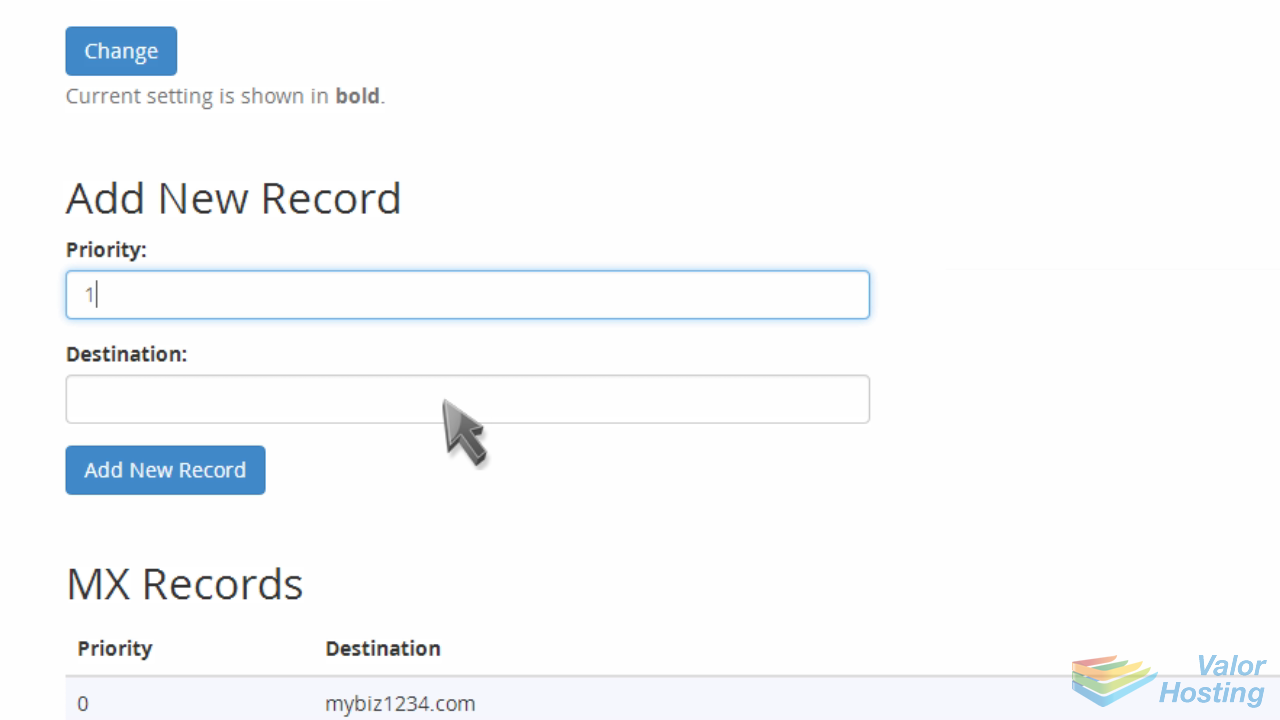
Click "Add New Record".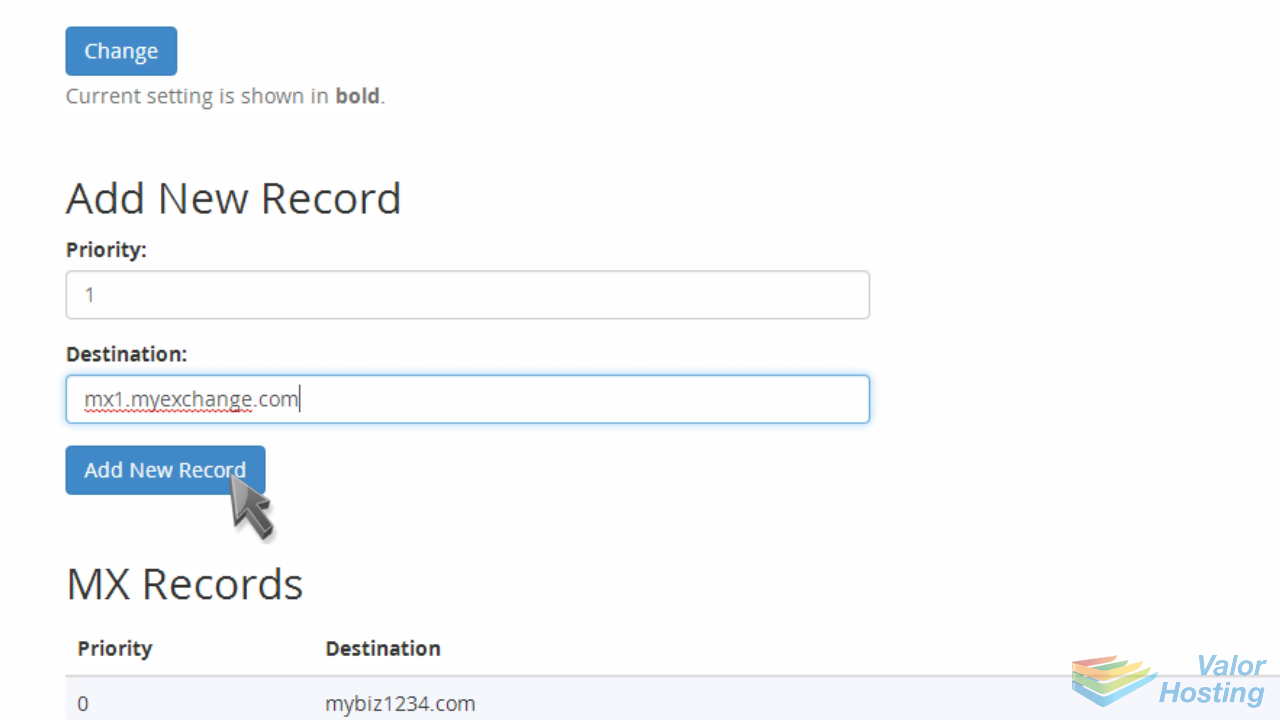
That's it! The new MX record has been added.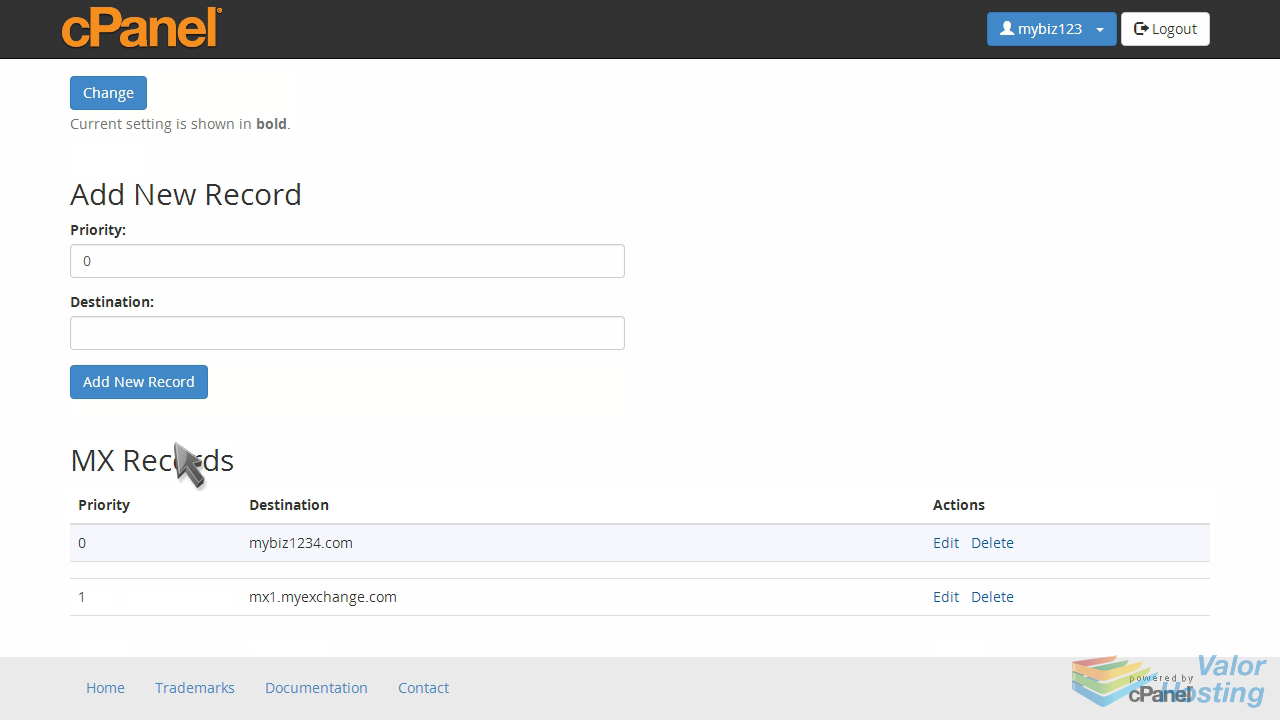
So in this case, the default mybiz1234.com mail server will be tried first because it has a priority of 0...
... followed by the new email server mx1.myexchange.com, because its priority number is 1.
This is the end of the tutorial. You now know how to add an MX entry in cPanel.
