In order to do this, WordPress needs to regularly run a program called a “cron job” (which means a regularly times job) in order to check if it needs to do something. Sometimes if the website has extra plugins (such as an online shop) then WP might also check if needs to send out any invoices and other such work.
The program script that looks after all these regular activities is called “wp-cron” and it is in the main installation folder of your WP website. Ideally, this should run every 30 minutes or so, and this can be done by setting up a “cron job”.
The problem
Many very cheap hosting companies do not have a cron job facility, as so WordPress could not rely on this Cron Job facility being available. So the standard WordPress installation runs the wp-cron program every time somebody looks at a page on your website. This is fine for websites that do not get much traffic, but for very busy websites, this means that wp-cron script might be running many times each second, often overlapping each other. This can slow down a busy website because the server is wasting so much time on needlessly running this program.
The solution to making your website faster...
There are two stages to the solution:
A. Stage 1: We need to disable the automatic starting of wp-cron every time a page is visited.
B. Stage 2: Set up a proper cron job to run twice per hour.
A. Disable wp-cron on page visits
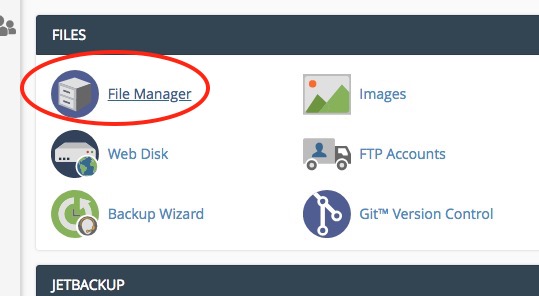
1. In your hosting cPanel, open the File Manager
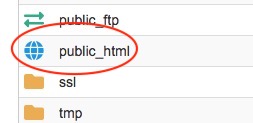
2. Navigate to the installation folder of your WordPress. For a hosting with one installation, this is normally in the public_html folder. Open this folder.
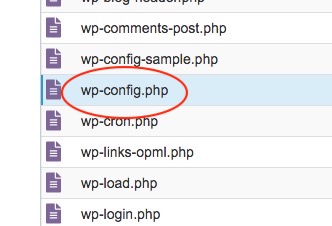
3. Select the wp-config.php file (make sure it is the “config” file and not the “cron” file).
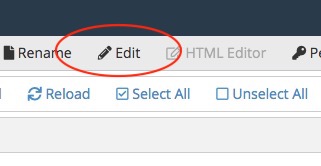
4. Select “Edit” from the menu
5. Scroll to the bottom of this file. (Yours might have slightly different contents. That is ok.)
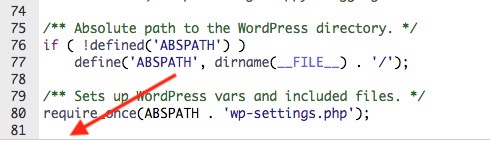
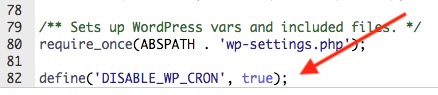
6. Leave a blank line and add the following text:
define('DISABLE_WP_CRON', true);
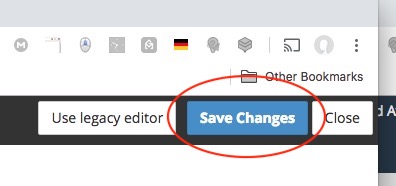
7. Select “Save Changes” from the menu and then close. You can now close the file manager window.
B: Set up a cron job
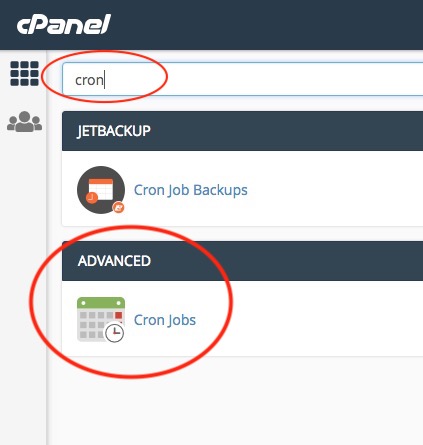
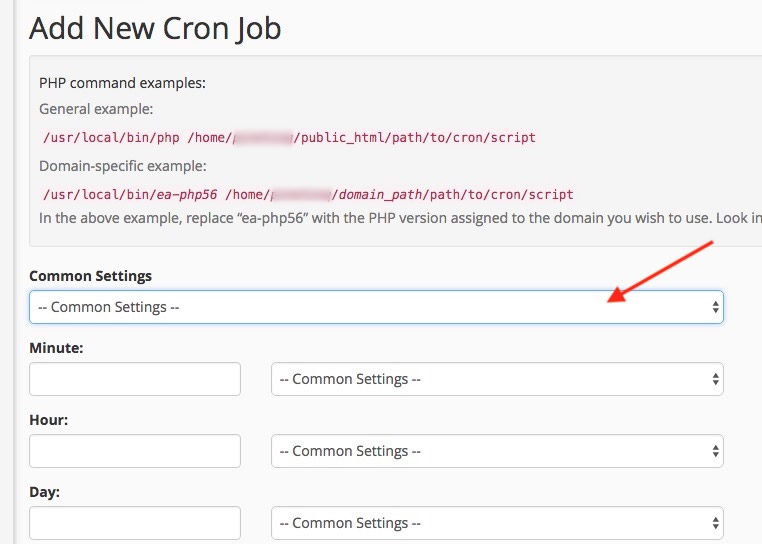
8. In your hosting cPanel, select Cron Jobs. (You can find this either by typing “cron” into the panel search bar or by going to the ADVANCED section.
9. Under “Add New Cron Job” open “common settings”
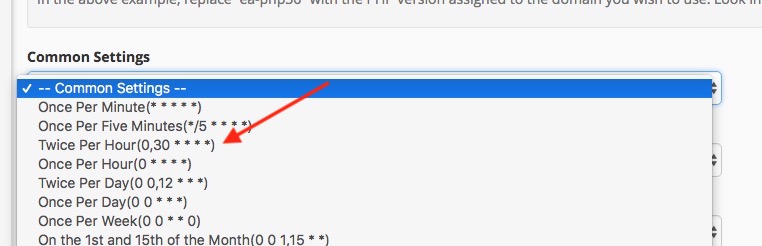
10. Select “Twice per Hour”
11. In the “Command” box enter:
wget -q -O - http://yourwebsite.com/wp-cron.php?doing_wp_cron >/dev/null 2>&1
but replace the http://yourwebsite.com part with the name of your website, so that is you website URL is https://myshop.com then your the text you enter should be:
wget -q -O - https://myshop.com/wp-cron.php?doing_wp_cron >/dev/null 2>&1

Click on the “Add New Cron Job” button.
You have now completed this change to your settings.
